VPN Access using Linux Network Manager
About VPN Connection
PERUN cluster requires VPN access for secure remote connections. This guide covers VPN setup using the built-in Linux Network Manager. Alternatively, you can use the Pritunl VPN client - refer to the main VPN documentation for that method.
Prerequisites
VPN Profile Required
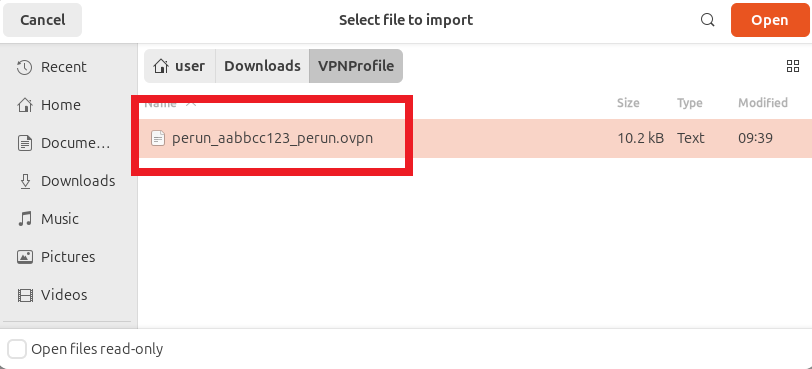
You must first obtain your VPN profile (.ovpn file) from the PERUN documentation:
Follow the "Obtaining a VPN Profile" section to generate your configuration file.
OpenVPN Plugin
The Network Manager OpenVPN plugin is required to import .ovpn files. This is typically pre-installed on most Linux distributions.
Check if you have it installed (on your local machine):
If the command returns output showing network-manager-openvpn and network-manager-openvpn-gnome, you're all set.
If not installed, install it (on your local machine):
After installation, restart Network Manager:
For other distributions or troubleshooting, refer to this guide on importing OpenVPN files with Network Manager.
Importing VPN Profile
Step 1: Open VPN Settings
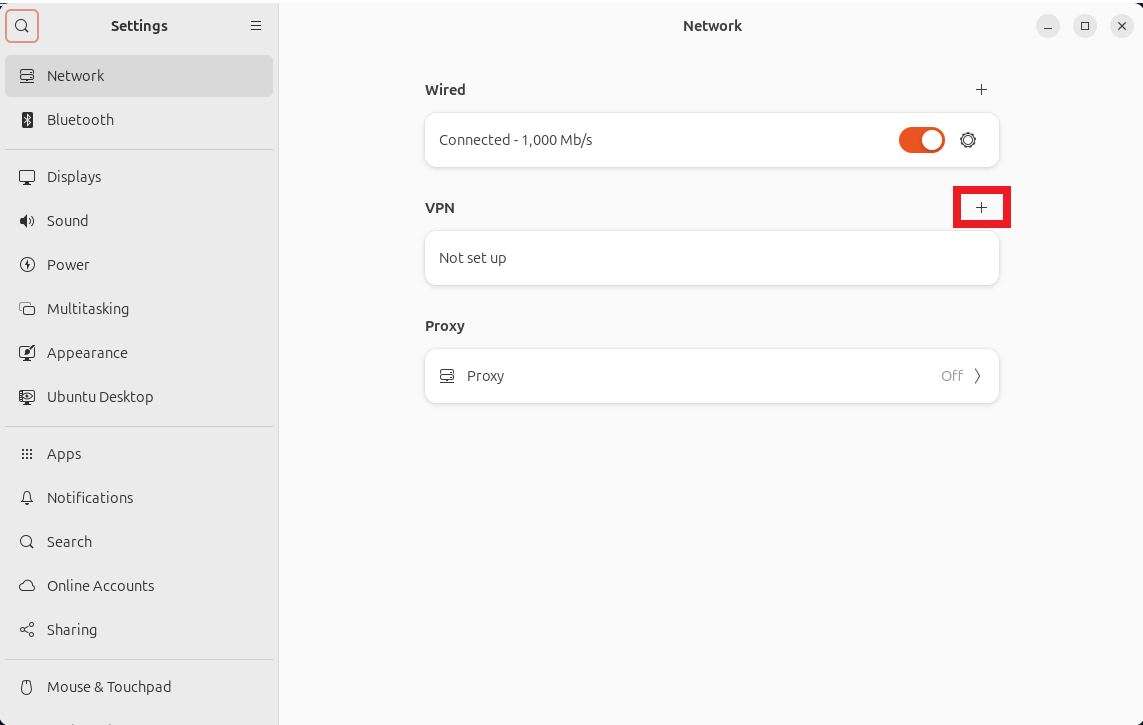
Navigate to your system settings and open the VPN configuration panel:
Settings → Network → VPN → Click the + button
Step 2: Import Configuration
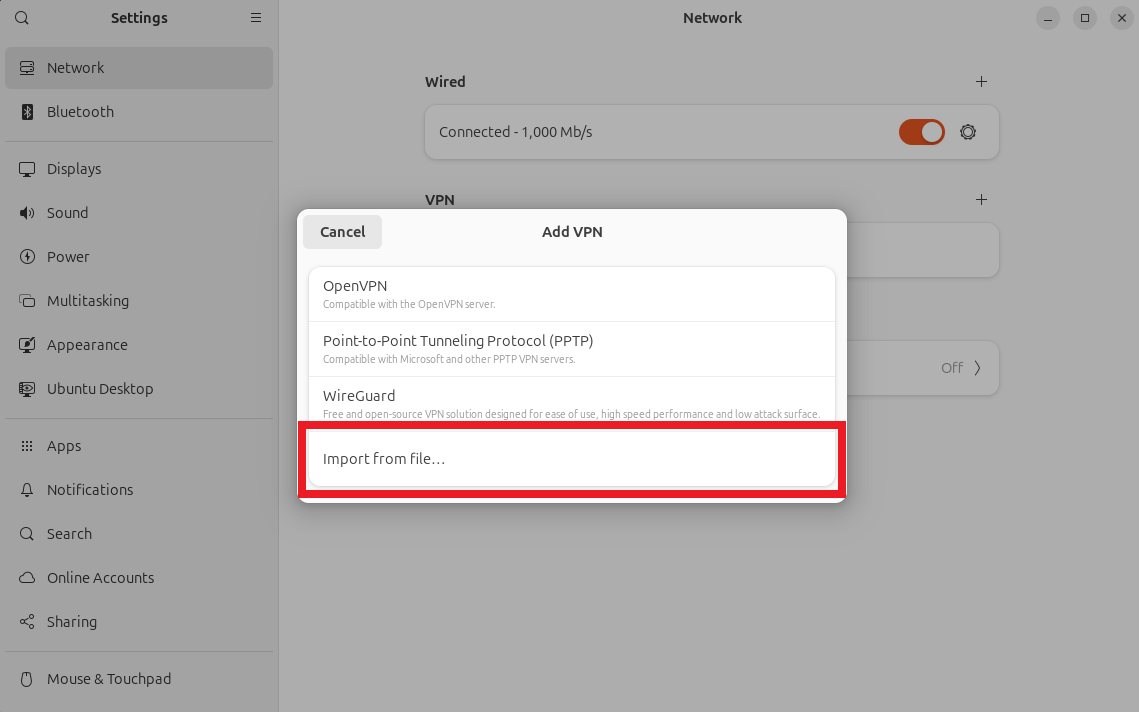
Select Import from file... from the menu and locate your downloaded .ovpn profile file.
Step 3: Configure Connection Details
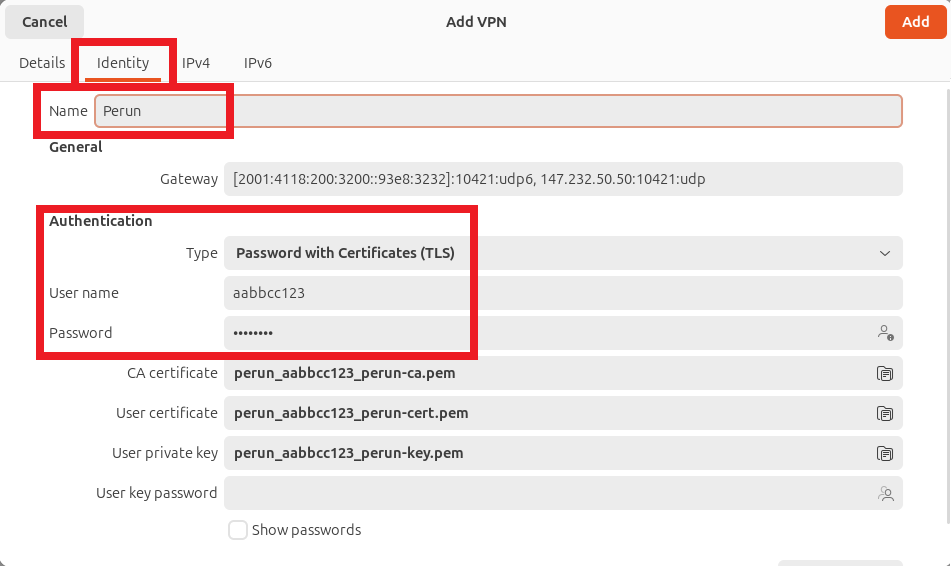
After importing, you'll need to configure the connection settings:
Required Fields
- Connection Name: Choose a descriptive name (e.g., "PERUN VPN")
- Type: Password with Certificates (TLS)
- Username: Your PERUN cluster username (e.g.,
aabbcc123) - Password: Your cluster password (optional - will be prompted on connection)
Step 4: Configure IPv4 Settings
Navigate to the IPv4 tab and enable split tunneling:
Check: "Use this connection only for resources on its network"
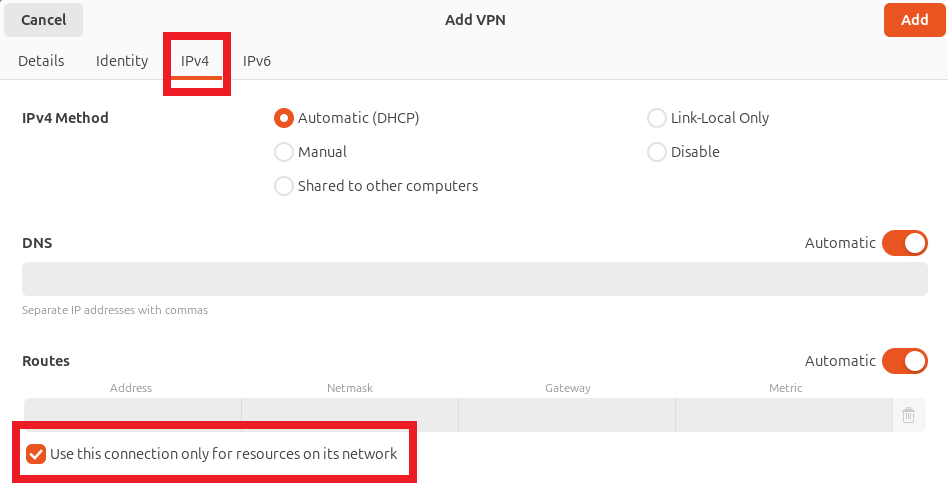
Split Tunneling
This setting ensures that only traffic destined for PERUN resources goes through the VPN, while other internet traffic uses your regular connection.
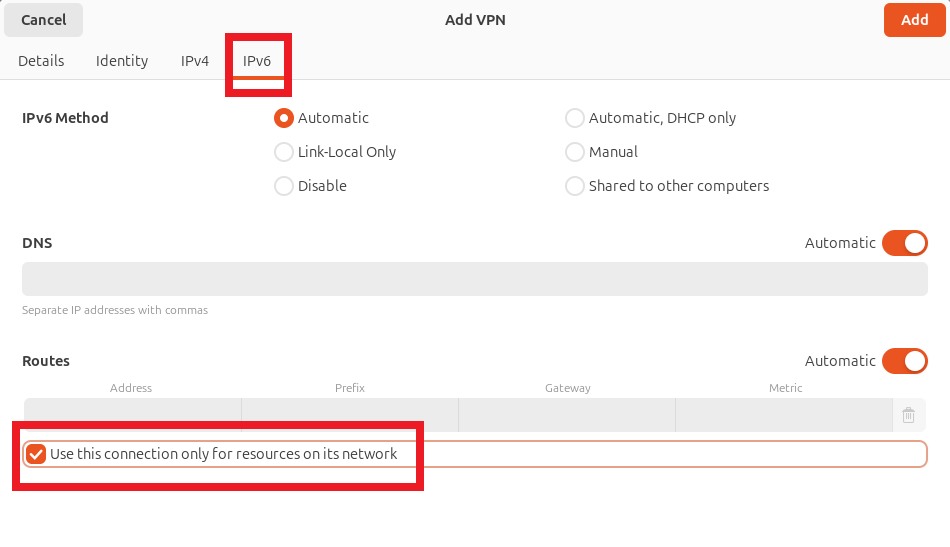
Step 5: Configure IPv6 Settings
Navigate to the IPv6 tab and apply the same setting:
Check: "Use this connection only for resources on its network"
Step 6: Save Configuration
Click Add or Apply to save your VPN configuration.
Using the VPN
Connecting to VPN
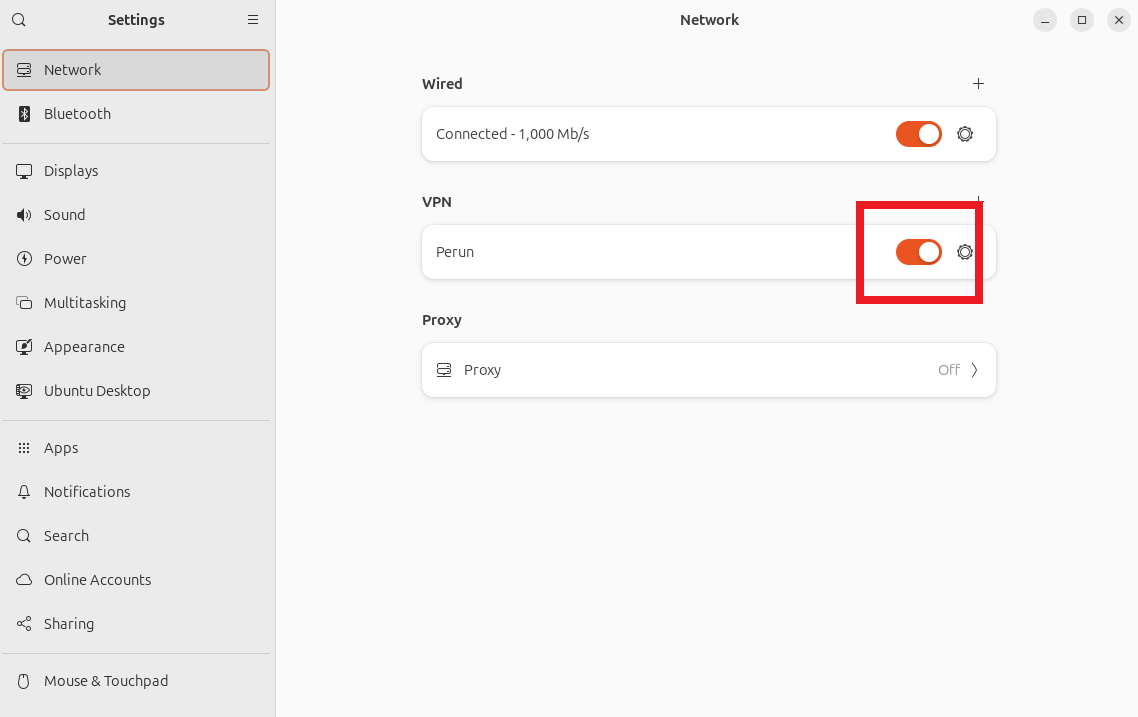
Method 1: Settings Panel
Navigate to Settings → Network → VPN and toggle the connection on/off.
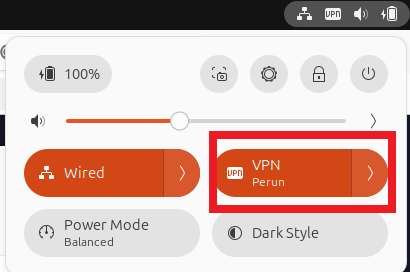
Method 2: Quick Settings
Click the system tray network icon and select your VPN connection:
Verifying Connection
Connection Status
When successfully connected, you should see:
- VPN toggle shows "Connected" status
- VPN icon appears in the network system tray
- VPN connection name displayed in network menu
Test connection
Verify you can access PERUN resources:
If you haven't set up SSH keys yet, follow the SSH key setup guide.